This is the easiest way to have Aptana Studio 3 up and running on Ubuntu in no time.
Firstly: Install the required JAVA version openjdk-8-jdk and set it as default by following the instructions below:
- To install
openjdk-8-jdk, please run the following command in the terminal:
sudo apt install openjdk-8-jdk
- To set
openjdk-8-jdk as default, please run the following command in the terminal:
sudo update-alternatives --config java
You will see an output like this:
  Selection    Path                                            Priority   Status
------------------------------------------------------------
  0            /usr/lib/jvm/java-14-openjdk-amd64/bin/java      1411      auto mode
  1            /usr/lib/jvm/java-11-openjdk-amd64/bin/java      1111      manual mode
  2            /usr/lib/jvm/java-14-openjdk-amd64/bin/java      1411      manual mode
* 3            /usr/lib/jvm/java-8-openjdk-amd64/jre/bin/java   1081      manual mode

Press <enter> to keep the current choice[*], or type selection number:
Please, enter the number in front of java-8-openjdk under Selection column and press Enter
Secondly: download, extract and set permissions for Aptana Studio 3 by following the instructions below:
- Please download the latest
aptana.studio-linux.gtk.x86_64.zip from here and place it in your home directory or wherever you want.
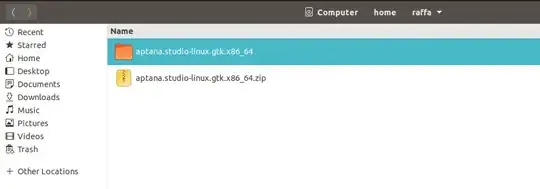
- Please right click on the downloaded
aptana.studio-linux.gtk.x86_64.zip file and extract it by choosing Extract Here. You will then have a new directory with the extracted Aptana Studio 3 in it like in the image below:
You will need unzip to extract the file. If it is not installed,
please install it by running the following command in the terminal:
sudo apt install unzip
- Please double click on the newly extracted directory to open it.
- Once inside the directory, please find the
AptanaStudio3 file and right click on it and select properties.
- Please, select the Permissions tab and put a check mark next to Execute like in the image below:

Finally: Double click on the AptanaStudio3 file to run Aptana Studio 3 and enjoy.

