It is probable that your graphic driver is not detecting that resolution. Follow the instructions below; it might help. It helped me in my Ubuntu(using unity) which installed in my desktop that has a dedicated AMD Radeon 5570HD(which uses Gallium REDWOOD drivers i.e the default open source drivers). First type this in your terminal(You can open terminal with Ctrl+Alt+t) :-
cvt 2048 1536
You will get something like this :-
# 2048x1536 59.95 Hz (CVT 3.15M3) hsync: 95.45 kHz; pclk: 267.25 MHz
Modeline "2048x1536_60.00"  267.25  2048 2208 2424 2800  1536 1539 1543 1592 -hsync +vsync
Now do this:-
xrandr --newmode "2048x1536_60.00" 267.25 2048 2208 2424 2800 1536 1539 1543 1592 -hsync +vsync
Then this:-
xrandr
You will get an output similar to this(maybe not exactly this):-
Screen 0: minimum 320 x 200, current 1368 x 768, maximum 8192 x 8192
DisplayPort-0 disconnected (normal left inverted right x axis y axis)
HDMI-0 disconnected (normal left inverted right x axis y axis)
DVI-0 connected primary 1368x768+0+0 (normal left inverted right x axis y axis) 0mm x 0mm
   1024x768       60.0
   800x600        60.3     56.2
   848x480        60.0
   640x480        59.9
   1368x768_60.00   59.9*
Here the connected monitor is DVI-0 according to the above output. So one would do this next:-
xrandr --addmode DVI-0 2048x1536_60.00
Instead of DVI-0 you should type in whichever is your connected monitor. This should work. I am assuming from your description above that 2048x1536 works on your monitor. If it doesn't you can try whichever resolution will work for you.
Now if you want this to take effect every login without having to type all of this again, follow the instructions below.
Open gedit or any other text editor. Type the following:-
#!/bin/sh
xrandr --newmode "2048x1536_60.00"  267.25  2048 2208 2424 2800  1536 1539 1543 1592 -hsync +vsync
xrandr --addmode DVI-0 2048x1536_60.00
xrandr --output DisplayPort-0 --off --output DVI-0 --mode 2048x1536_60.00 --pos 0x0 --rotate normal --output HDMI-0 --off
You must edit the last line according to your PC. Save the above file as lightdmxrandr.sh in /usr/bin .Then make it executable by this command:-
sudo chmod a+x /usr/bin/lightdmxrandr.sh
Then open /etc/lightdm/lightdm.conf(If this file is not there then read the "PS" below) by the command:-
sudo gedit /etc/lightdm/lightdm.conf
You can use your own text editor instead of gedit. The file must contain something like this:-
[SeatDefaults]
user-session=ubuntu
Add the below lines to the file:-
greeter-session=unity-greeter
display-setup-script=/usr/bin/lightdmxrandr.sh
session-setup-script=/usr/bin/lightdmxrandr.sh
Now save the file and reboot. You must have your desired resolution both in the login screen and your desktop session. This should most probably work. But if it doesn't then read on and follow the below instructions.
Open a terminal(if you are stuck on the login screen and you can't open a terminal then drop into a tty with Ctrl+Alt+F1) and type in the following :-
sudo nano /etc/lightdm/lightdm.conf
This will open the lightdm.conf file which we edited above. Now remove the below line alone from the file:-
session-setup-script=/usr/bin/lightdmxrandr.sh
Press Ctrl+x to exit the file and then press y to save it before exit which it will prompt you to. Then type :-
sudo reboot
to reboot your PC. This should get you into your desktop(If it doesnt read "PS" below). Now go to System Settings>Displays. You might find your desired resolution there(This might happen since we ran the script above with lightdm.conf). Then select that resolution and reboot to have your desired resolution. But if you don't find your desired resolution there, you may try this.
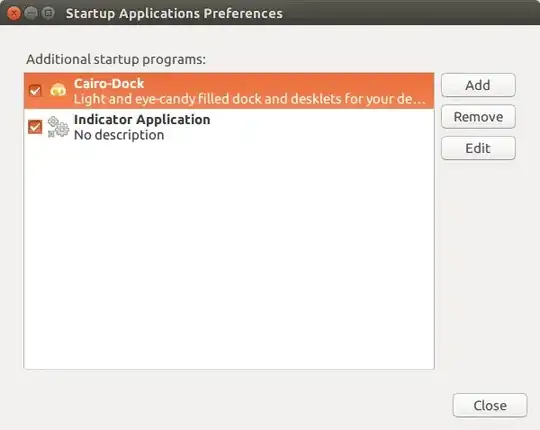
Open Startup Applications from dash. This should give you something like this(but not exactly like this) :-
Press Add. You will get this :-
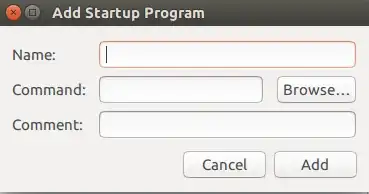
Give some name you like. Then press browse and select the script which we created(Remember that we saved it as /usr/bin/lighdmxrandr.sh ). If you want give a description. Then press Add. Before closing Startup Applications check if the entry you just added has a tick mark next to it. Now reboot your PC. This should get you the desired resolution in both the login screen as well as in the desktop.
PS:-
- If
/etc/lightdm/lightdm.conf ain't there then you must be having /usr/share/lightdm/lightdm.conf.d/50-ubuntu.conf . Edit this file instead of lightdm.conf .
- If none of the above works and you are stuck at login then drop into a tty and type :-
sudo nano /etc/lightdm/lightdm.conf
Now remove all the editing we did and press Ctrl+x and then press y to save the file. Now type :-
sudo reboot
This should get you back to your desktop, but, of course, without your desired resolution and with your default resolution. Then try System Settings>Displays and check if your desired resolution is there(This might happen since we ran our script with lighdm.conf ). Now select that resolution and reboot. You will get your desired resolution now.
Credits go to these three questions:-